
Installation guide
How to install your wood floating shelves
Seven steps to put up your set of four straight shelves. Pick your wall type below and the drilling instructions will match it.
- 7 steps
- 4 shelves
- People: 2 recommended
These steps follow the instruction manual for ROMGUAR CRAFT Floating Shelves for Wall. Applies to: Both lengths (17 inch and 23.6 inch) and all seven finishes.
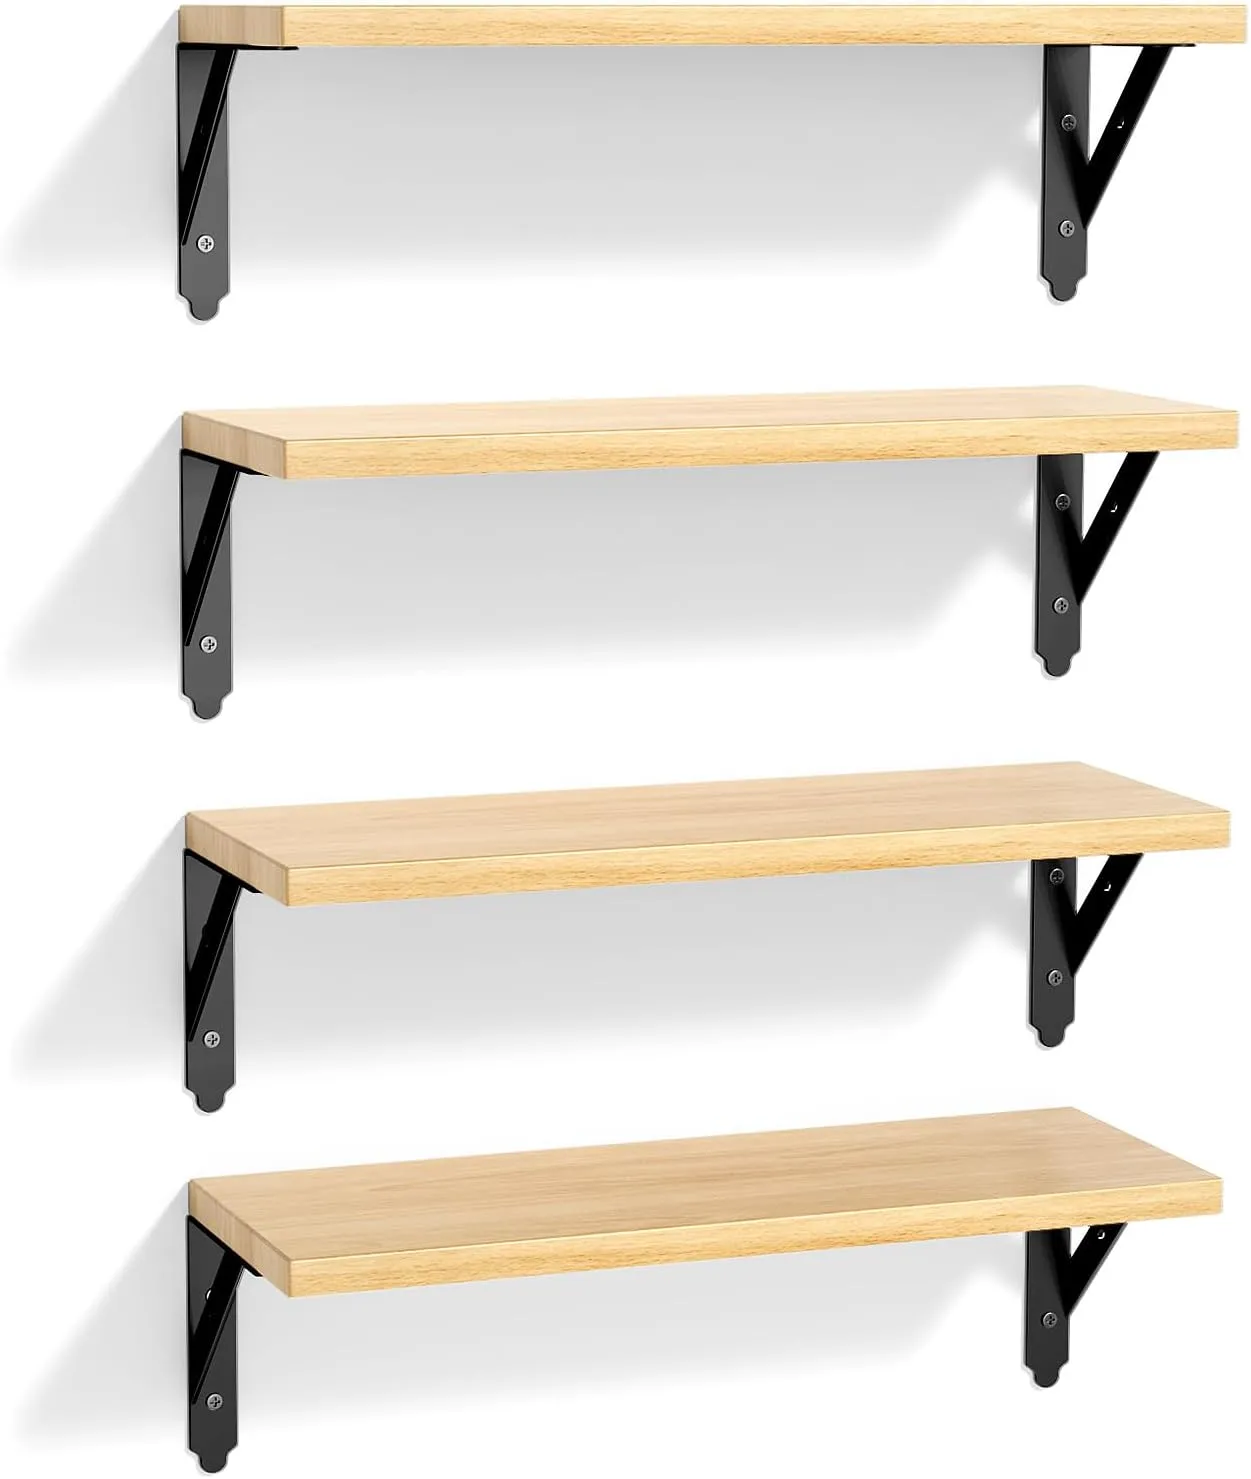 Wood floating shelvesView the product
Before you start
Check the box
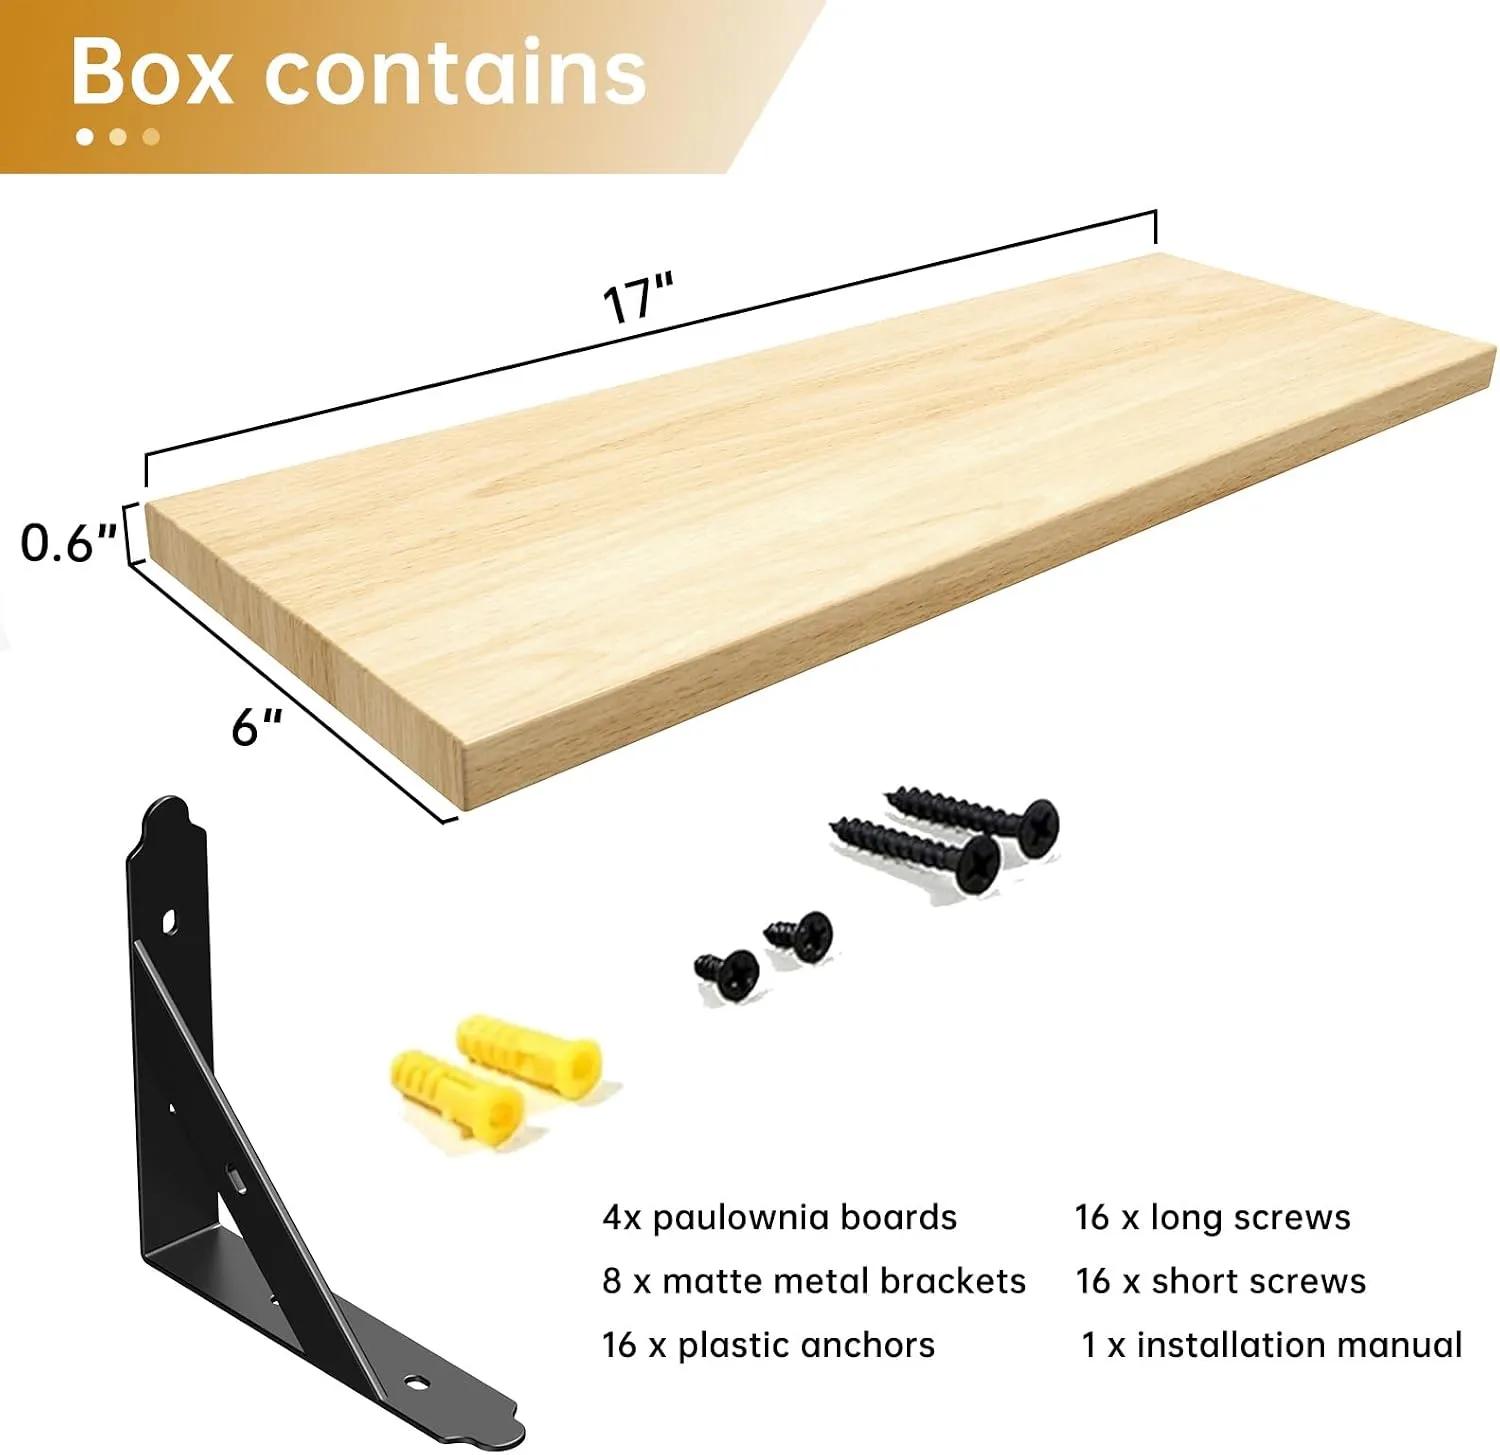
Something missing or damaged? Don't start with a damaged part. Contact ROMGUAR CRAFT through your Amazon order for a replacement.
Get your tools ready
Tools aren't included.
Install, step by step
Step 1 of 7
Plan where each shelf goes
Decide the height of each shelf. Draw a level pencil line where the bottom of each shelf will sit.
Mark where the two brackets for each shelf will go along that line, spaced so both sit under the board.
Check: Each line is level, and you've marked two bracket positions for every shelf.
Tip: Hold a board against the wall at the height you want before marking. Keep both brackets the same distance in from each end so the shelf looks centered.
Step 2 of 7
Mark the drill holes
Hold a bracket against the wall at one of your marks.
Mark through each of the bracket's screw holes with a pencil.
Repeat for every bracket. Each shelf needs two.
Check: Every bracket position has its screw holes marked.
Step 3 of 7
Drill the holes
Drywall
Drill a pilot hole at each mark.
Push a plastic anchor into each hole and tap it in until it sits flush with the wall.
Wood stud
Use a stud finder to locate the studs, and plan your marks over them.
Drill pilot holes straight into the studs. You don't need the plastic anchors in wood, but use screws that suit wood.
Brick or concrete
The included plastic anchors are for drywall, and the manual doesn't cover brick or concrete.
Use masonry anchors and a masonry drill bit sized for them, and follow the anchor maker's directions.
Check: Every hole is drilled, and any anchors sit flush with the wall.
Tip: Choose a drill bit that matches the anchor's width, so the anchor fits snugly and doesn't spin in the hole.
Step 4 of 7
Screw the brackets to the wall
Line up each bracket with its holes and fix it with the long screws.
Check each pair of brackets with the level, and tighten them firmly.
The brackets work with the support arm pointing up or down, so choose the look you prefer.
Check: Each pair of brackets is level and doesn't move when you push on it.
Step 5 of 7
Set each shelf on its brackets
Lay a wood board on its two brackets.
Slide it so it sits flush against the wall and centered on the brackets.
Check: The board sits flat and centered, with the same overhang at each end.
Step 6 of 7
Screw the shelf to the brackets
From underneath, drive the short screws up through the holes in each bracket into the board.
This stops the shelf from sliding or lifting.
Check: The shelf doesn't shift when you push it gently side to side.
Step 7 of 7
Put up the rest of the shelves
Repeat steps 1 to 6 for each remaining shelf.
Check: All four shelves are level and screwed to their brackets.
Tip: Leave enough space between shelves for the tallest thing you plan to put on each one.
Final checks
All done. Enjoy your shelves.
Something not right?
A shelf wobbles or feels loose
Tighten the wall screws and the screws under the shelf. In drywall, check that each anchor sits fully in its hole. If the shelf is heavily loaded, take some items off.
A shelf isn't level
The brackets went up at slightly different heights. Take the shelf and brackets down, re-mark the holes with the level, and drill again.
A shelf pulled away from the wall
Take everything off the remaining shelves straight away. Check your wall type, then remount into studs or with anchors suited to that wall, and keep each shelf under 40 lb.
A part is missing or damaged
Don't fit a damaged part. Contact ROMGUAR CRAFT through your Amazon order to get a replacement.
Looking after your shelves
- Dust with a soft, dry cloth. Avoid harsh chemicals and abrasive cleaners, which can damage the finish.
- Wipe up spills straight away so water doesn't mark the wood.
- Check the screws now and then, and tighten any that have worked loose.
- Keep shelves out of long periods of direct sunlight and high humidity.