
Installation guide
How to install your corner floating shelves
Five steps to put up your set of four L-shaped corner shelves. Pick your wall type below and the drilling instructions will match it.
- 5 steps
- 4 shelves
- People: 1, with a second pair of hands helpful
These steps follow the instruction manual for ROMGUAR CRAFT Corner Floating Shelves. Applies to: All seven finishes.
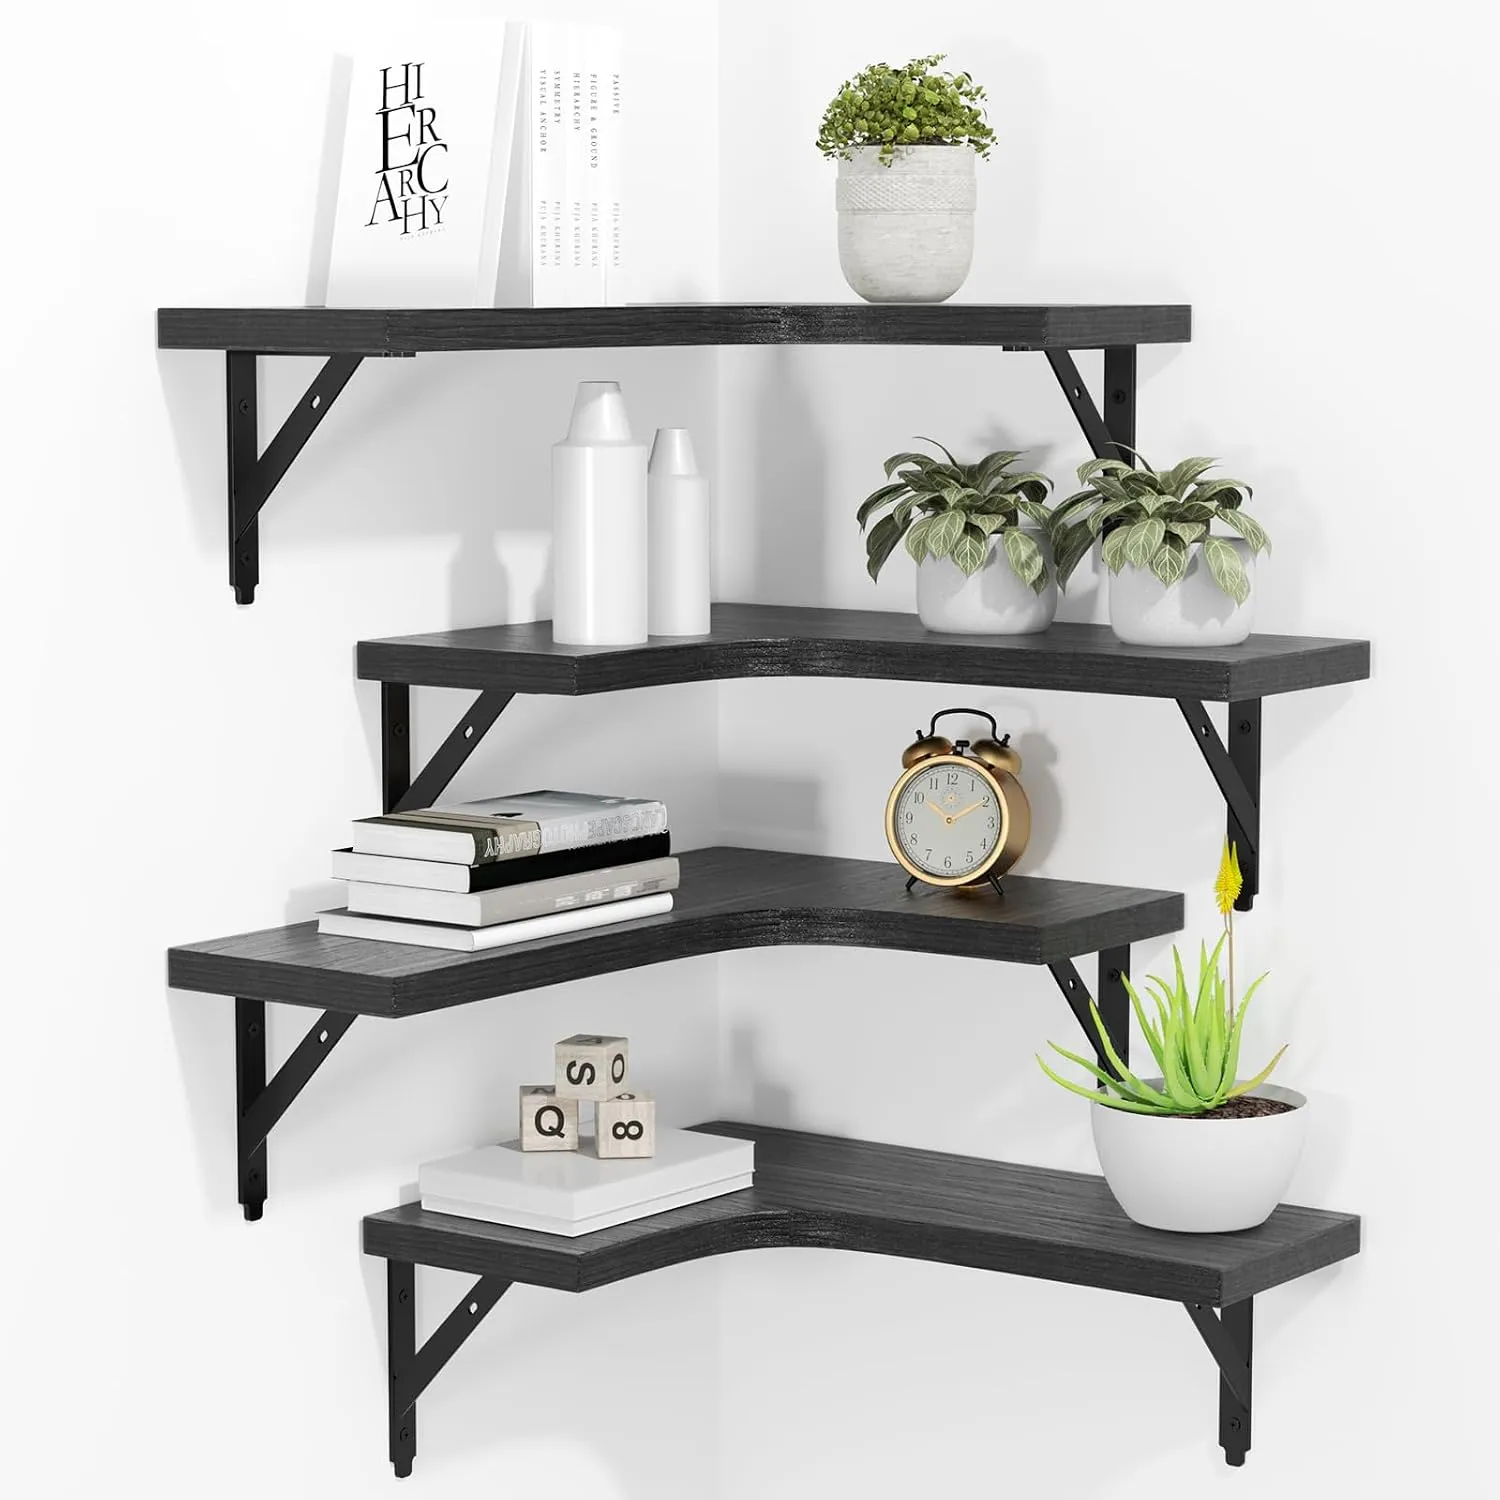 Corner floating shelvesView the product
Before you start
Check the box
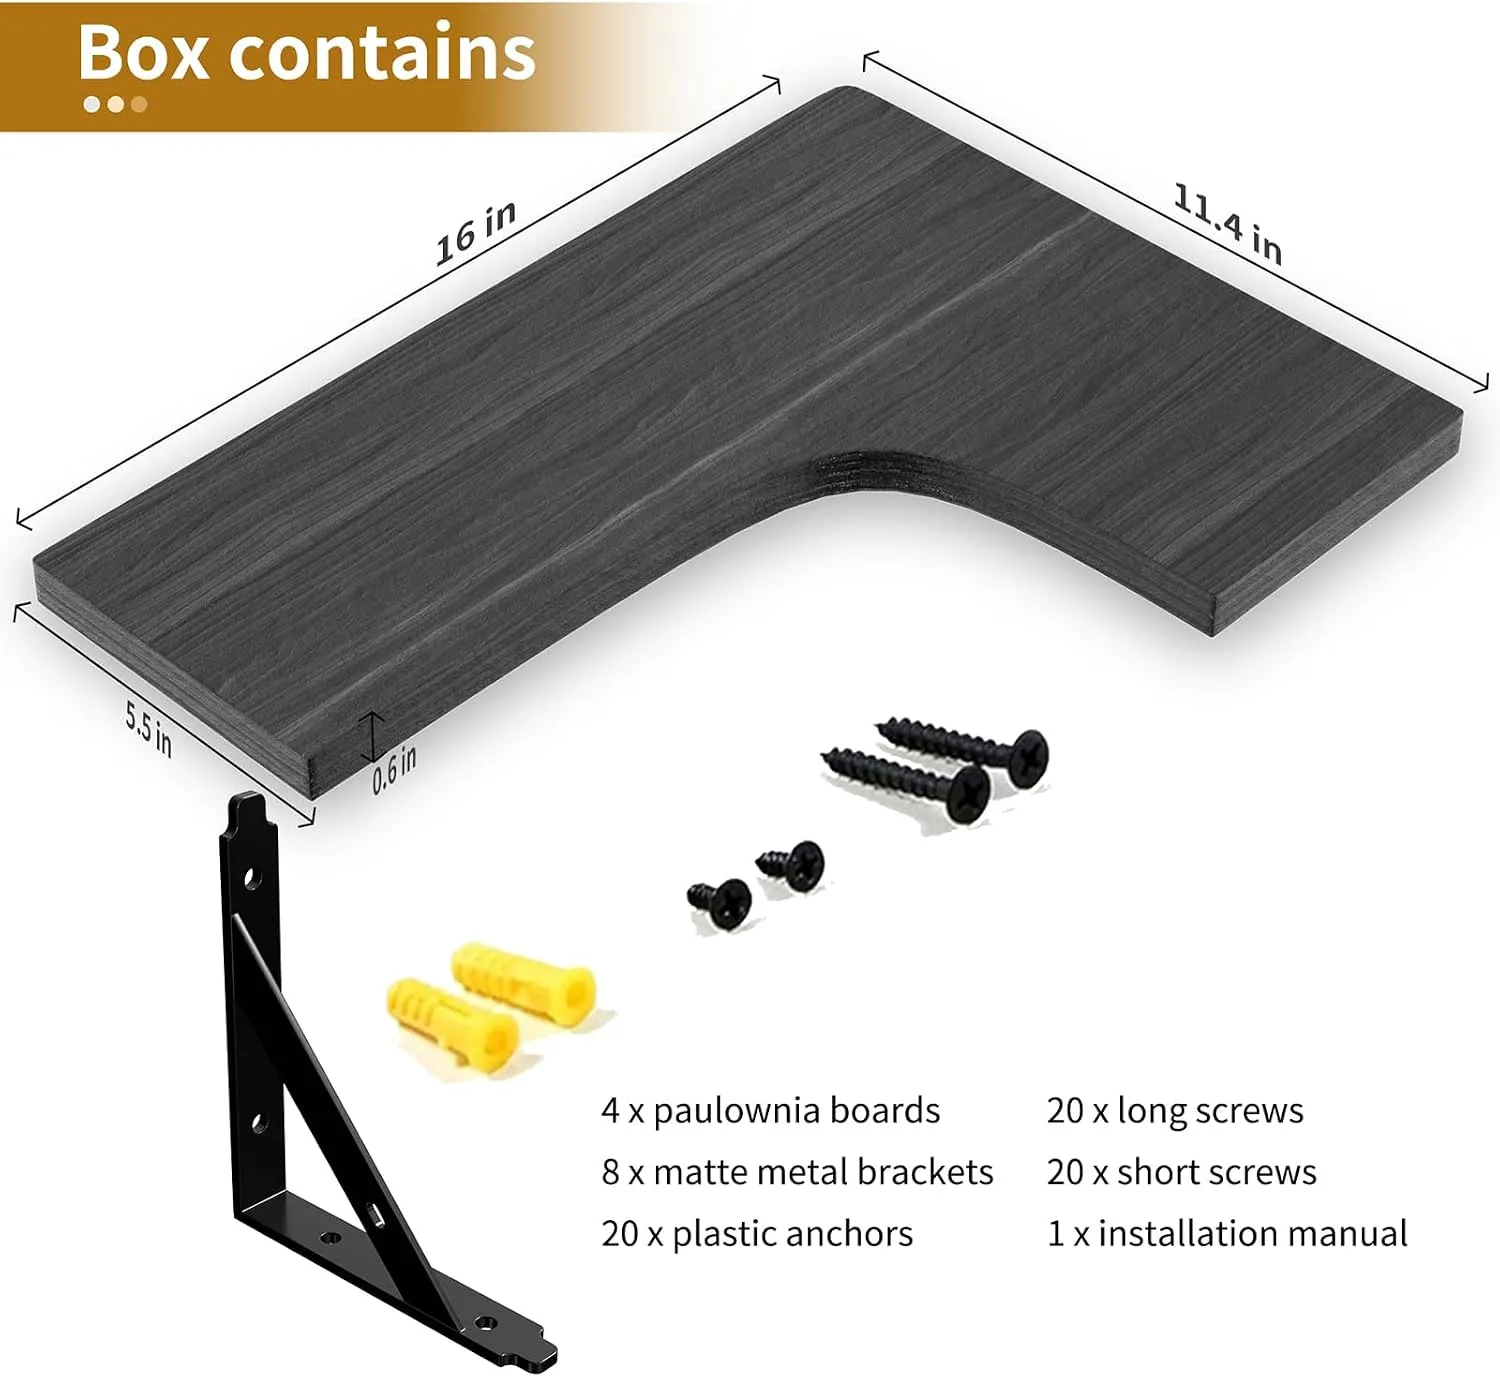
Something missing or damaged? Don't start with a damaged part. Contact ROMGUAR CRAFT through your Amazon order for a replacement.
Get your tools ready
Tools aren't included.
Install, step by step
Step 1 of 5
Fix two brackets to each shelf
Turn a board upside down. Line up a bracket with the pre-drilled holes on the underside.
Fix it with the short screws. Attach the second bracket the same way.
Repeat for all four shelves, so each one has two brackets.
Check: All four shelves have two brackets screwed on tight.
Tip: Do this at a table before you go near the wall. It's much easier than working overhead.
Step 2 of 5
Mark the holes in the corner
Choose the height for your first shelf.
Hold the shelf in the corner and check it with the level.
Mark the wall through each bracket's screw holes with a pencil.
Check: The shelf was level when you marked, and every bracket hole is marked.
Tip: A second person holding the shelf makes this much easier while you check the level and mark.
Step 3 of 5
Drill the holes
Drywall
Drill a pilot hole at each mark.
Push a plastic anchor into each hole and tap it in until it sits flush with the wall.
Wood stud
Drill pilot holes into the studs at your marks.
You usually don't need the plastic anchors in wood, but make sure every screw bites firmly.
Brick or concrete
The included plastic anchors are for drywall, and the manual doesn't cover brick or concrete.
Use masonry anchors and a masonry drill bit sized for them, and follow the anchor maker's directions.
Check: Every hole is drilled, and any anchors sit flush with the wall.
Tip: Choose a drill bit that matches the anchor's width, so the anchor fits snugly and doesn't spin in the hole.
Step 4 of 5
Screw the shelf to the wall
Hold the shelf in the corner with its bracket holes lined up over your holes.
Drive the long screws through the brackets into the wall, and tighten them firmly.
Check: The shelf is level and doesn't move when you press on it.
Step 5 of 5
Put up the other three shelves
Repeat steps 2 to 4 for each remaining shelf.
Space and stagger them however you like.
Check: All four shelves are level and firmly fixed.
Tip: Leave enough height between shelves for the tallest thing you plan to put on each one.
Final checks
All done. Enjoy your shelves.
Something not right?
A shelf feels loose
Tighten all the screws, both bracket-to-shelf and bracket-to-wall. In drywall, check that each anchor sits fully in its hole.
A shelf isn't level
Loosen the wall screws slightly, nudge the shelf level, then tighten again. Use the level as you go to avoid this.
A shelf is damaged
Don't repair a crack that could weaken the shelf. Contact ROMGUAR CRAFT through your Amazon order for help.
You think a shelf is overloaded
Take items off straight away, and spread the weight across the shelves, using fewer heavy objects.
Looking after your shelves
- Dust with a dry cloth. Avoid harsh chemicals and abrasive cleaners, which can damage the finish.
- Check the screws now and then, and tighten any that have worked loose.
- Keep shelves away from moisture and long periods of direct sunlight, which can warp or fade the wood.