
Countertop vs. Wall-Mounted Spice Racks
Compare the 15.75- and 23.6-inch widths, check overhead clearance and measure your jars before choosing a place for your spices.
As an Amazon Associate we earn from qualifying purchases.
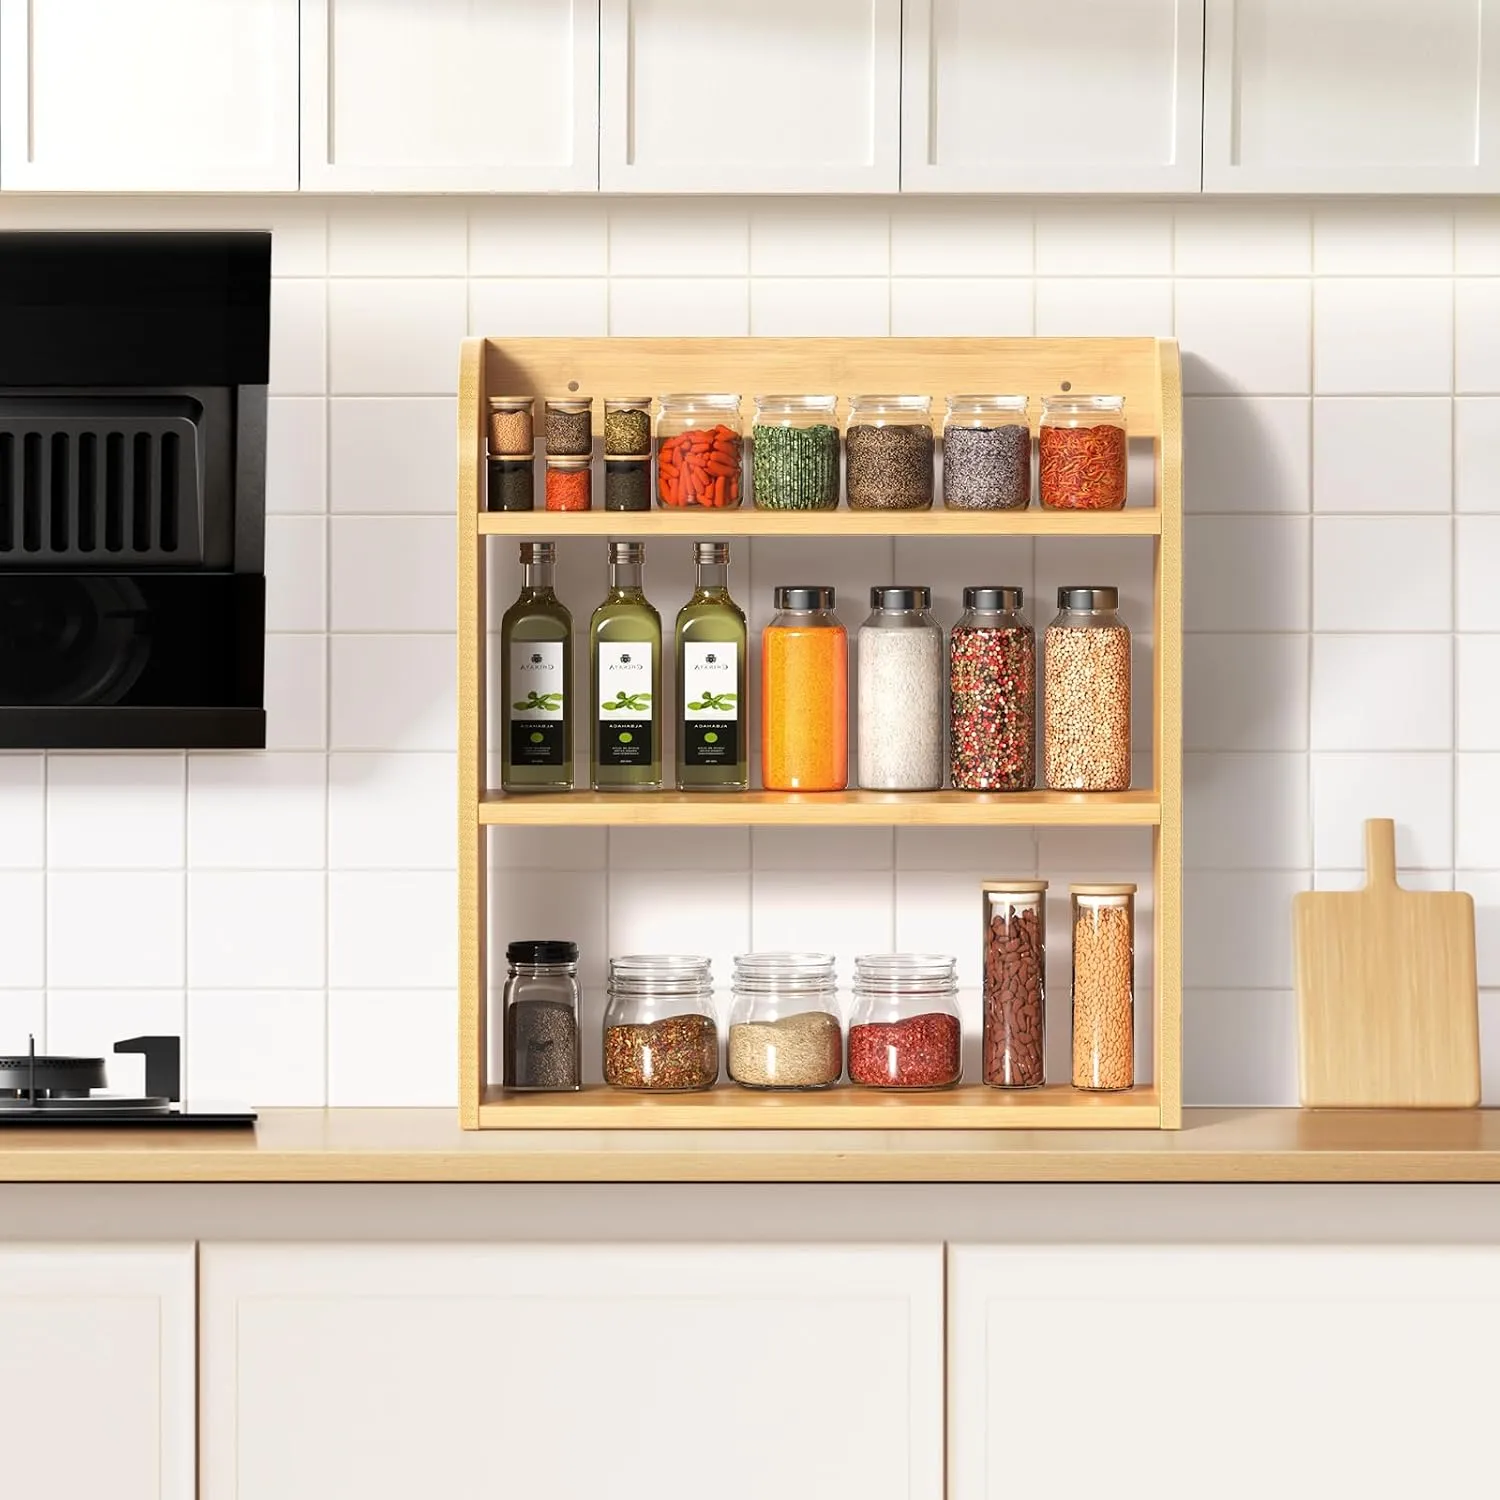
A countertop spice rack uses work surface; a wall-mounted rack uses wall space and still projects into the room. The best placement depends on the space available, the jars you use and whether you can reach them comfortably.
The ROMGUAR CRAFT bamboo spice rack is listed for either placement in three configurations: a 15.75-inch-wide 2-tier, a 15.75-inch-wide 3-tier and a 23.6-inch-wide long 2-tier. All share a listed exterior depth of 5.1 inches.
Start with the location, compare the outside dimensions, then check the shelf space and access your jars need. A rack fitting beneath a cabinet does not establish that its contents will fit there too.
Compare the three listed sizes
The standard models share a width and depth; the third tier increases the listed height from 10.6 to 16.5 inches. The long model adds width while keeping the 2-tier model’s listed height.
| Configuration | Width | Depth | Height | Listed finishes |
|---|---|---|---|---|
| Standard 2-tier | 15.75 in | 5.1 in | 10.6 in | Natural, Grey, Brown, Black |
| Standard 3-tier | 15.75 in | 5.1 in | 16.5 in | Natural, White, Grey, Black |
| Long 2-tier | 23.6 in | 5.1 in | 10.6 in | Natural |
These are Amazon listing specifications recorded in our catalog on October 17, 2026, rather than measurements we have taken. Some dimension images use slightly different figures: 15.74 instead of 15.75 inches, 5.11 instead of 5.1, and 10.62 or 16.53 instead of 10.6 or 16.5. Confirm the assembled size before relying on a tight gap.
The long rack is 7.85 inches wider by the specification figures. That is an increase in overall width, not a confirmed increase in usable shelf length or jar capacity. Not every finish comes in every size; current availability belongs to the exact Amazon listing.
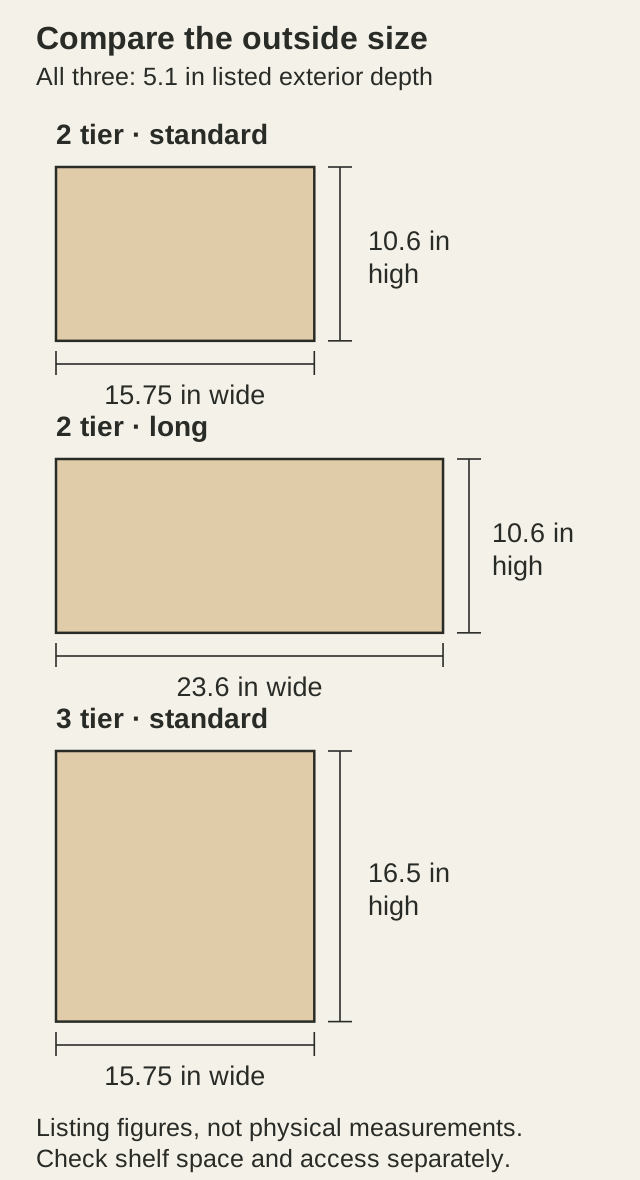
Countertop or wall: compare the space each uses
Counter placement lets you plan around a work surface. Wall placement moves the rack off that surface, but introduces mounting requirements and a reach-height decision. An open wall can provide more overhead room than a spot beneath a cabinet, depending on nearby fixtures.
| Consideration | Countertop | Wall-mounted |
|---|---|---|
| Space to reserve | Full listed width and 5.1-inch exterior depth on the counter | Full width and height on the wall; check outward projection and nearby activity |
| Overhead access | Check cabinets, trim, lights and the jars above the top shelf | Check cabinets, shelves and anything above the proposed position |
| Everyday use | Keep prep space, plugs and appliance access available | Choose a position where labels are visible and jars are within comfortable reach |
| Setup | Follow the model’s assembly and placement guidance | Confirm mounting instructions, wall suitability and appropriate fixings |
| Fit still to confirm | Usable shelf space and jar-removal room | The same jar checks, plus mounting details and loaded support |
Product photos show shelves with open areas behind them and no front retaining bar. Do not assume a wall or backsplash closes every gap or prevents a jar from falling. Check the assembled shelf edges, rear gaps and support beneath each container.
Measure a countertop position
Measure the actual spot rather than relying on a typical cabinet or counter dimension.
- Check the clear width. Measure between appliances, trim, sink edges and other objects. Compare that span with 15.75 or 23.6 inches, and allow room to position the rack and clean around it.
- Mark the exterior footprint. A paper rectangle using the listed width and 5.1-inch depth can help you see how much work surface the rack would occupy. Check backsplash ledges and uneven surfaces separately.
- Measure to the lowest overhead obstruction. Include cabinet trim, under-cabinet lights and other fittings. Compare the gap with the listed 10.6- or 16.5-inch overall height.
- Check the contents above the top shelf. Obtain the top shelf’s height above the counter, then add the tallest jar’s full height. Allow room for your hand and the way you remove it.
- Keep everyday access clear. Check cabinet-door travel, outlet access, appliance plugs and cords, and the work area you need in front of the rack.
For a hypothetical 18-inch overhead gap, subtracting the 3-tier rack’s listed 16.5-inch height leaves 1.5 inches above the frame. That figure is not the available jar height: the top shelf sits below the top of the frame, and its exact elevation is not specified in our catalog. Confirm shelf elevation and jar access before deciding either way.
The shorter models deserve comparison when overhead space is limited. Their 10.6-inch listed height still requires the same shelf-and-jar check.
Plan a wall position before installation
Use the proposed rack outline to check wall space and reach. This is a placement check; installation should follow instructions for the exact model.
- Mark the full width and height. Check outlets, switches, trim, cabinet doors and nearby appliances against the proposed outline.
- Check the depth and approach. Use the 5.1-inch listed exterior depth as an initial reference. Confirm the installed projection, including any mounting gap, and consider passing, reaching and counter activity beneath it.
- Check reach at each shelf. Plan where the jars will sit, whether labels will be visible and whether you can grip a jar without stretching over another appliance.
- Resolve the mounting details. Obtain the exact instructions, mounting-point locations, wall requirements and appropriate fasteners before installation. Overall rack width does not establish mounting-hole spacing or stud alignment.
Listing text in our catalog mentions mounting screws and plastic anchors, but it does not establish their suitability for your wall or the intended load. Confirm the supplied parts and model-specific requirements. No verified load rating or complete spice-rack installation manual is available in our current catalog.
Compare the rack sizes, dimension photos and finishes →
Measure your jars separately from the rack
Exterior depth is not usable shelf depth. The listed 5.1 inches describes the rack overall. Check the actual resting surface, inside width and any gaps before assuming a wide container or two rows will fit.
Measure your jars at their widest point, including a projecting lid, and measure their full height with the cap attached. For rectangular containers, account for the orientation you intend to use. Make a short list of the containers you want on each shelf rather than estimating capacity from a styled photograph.
The listing diagrams mark 5.9 inches between shelves. Keep that as a diagram figure rather than treating it as a guaranteed maximum jar height. Confirm the clear opening and removal room directly; do not automatically subtract a guessed board thickness or add an arbitrary fixed hand-clearance allowance.
For front-to-back rows, also consider whether you can read and retrieve the rear jars without moving the front ones. A count of containers that can stand on a surface is different from a layout that is convenient to use.
Choose a cool, dry location away from direct sun
Rack placement also determines the conditions around your spices. University of Delaware Cooperative Extension recommends airtight containers in a cool, dry place away from the range and direct sunlight. Read its herb and spice storage guidance.
University of Maryland Extension similarly recommends keeping dried herbs in tightly closed containers away from heat, sunlight and moisture. See its herb storage guidance.
Apply those principles when comparing a sunny counter, a wall above the cooktop and a cooler prep area. An open rack does not shield transparent jars from sunlight. Choose the location with storage conditions in mind, as well as convenient access.
Questions before choosing a size
Is the long rack taller than the standard 2-tier?
Both have a listed height of 10.6 inches and depth of 5.1 inches. The long model increases the width from 15.75 to 23.6 inches and is listed in Natural only.
Will a 5.9-inch jar fit on a lower shelf?
The diagram label alone does not confirm that. Check the actual clear opening, the jar’s complete height and the room needed to grip and remove it.
Are spice jars included?
Our catalog does not confirm that jars or labels are included. Staged photos and a “1 count” field do not establish the contents of the package. Confirm the exact listing’s included-items information before buying.
Can I use adhesive strips instead of screws?
Our catalog does not establish adhesive or no-drill compatibility. Follow the exact model’s installation guidance rather than substituting a mounting method based on a photo.
Which finishes come in each size?
The standard 2-tier is listed in Natural, Grey, Brown and Black; the standard 3-tier in Natural, White, Grey and Black; and the long 2-tier in Natural. The options below link to all nine exact catalog variants so you can review the chosen configuration and check its current price and availability on Amazon.
Compare all nine listed size and finish options
Check the current price, delivery, and availability for the exact size and finish on Amazon.
As an Amazon Associate we earn from qualifying purchases.
 Check price on Amazon
2 tier, Natural
15.75 in W × 5.1 in D × 10.6 in H
 Check price on Amazon
2 tier, Grey
15.75 in W × 5.1 in D × 10.6 in H
 Check price on Amazon
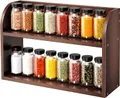
2 tier, Brown
15.75 in W × 5.1 in D × 10.6 in H
 Check price on Amazon
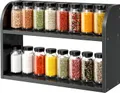
2 tier, Black
15.75 in W × 5.1 in D × 10.6 in H
 Check price on Amazon
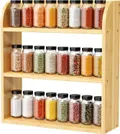
3 tier, Natural
15.75 in W × 5.1 in D × 16.5 in H
 Check price on Amazon
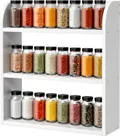
3 tier, White
15.75 in W × 5.1 in D × 16.5 in H
 Check price on Amazon
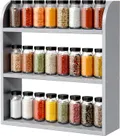
3 tier, Grey
15.75 in W × 5.1 in D × 16.5 in H
 Check price on Amazon
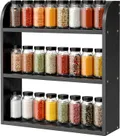
3 tier, Black
15.75 in W × 5.1 in D × 16.5 in H
 Check price on Amazon
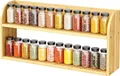
2 tier long, Natural
23.6 in W × 5.1 in D × 10.6 in H